How to Use Freehand Tool in CorelDRAW with Pictures
1. Select the Freehand tool in the toolbar
2. Click on the work area
3. Release your finger on the left mouse button
4. Move the mouse pointer in the right direction
5. Click again to create the second point
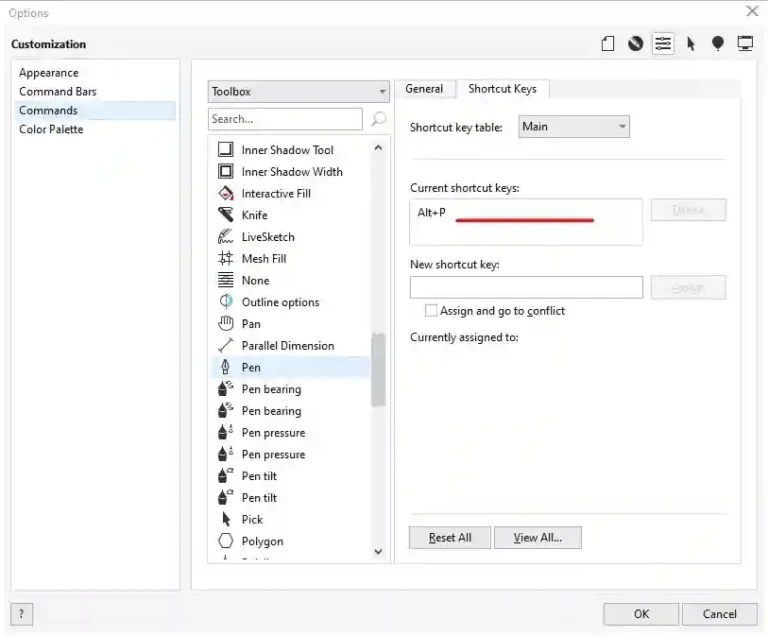
The Freehand tool is found in the toolbar on the left side of CorelDRAW. In the 2021 version, it is the fifth tool. The shortcut key for the freehand tool in CorelDRAW is F5. To use the Freehand tool, click on it in the toolbar or press F5 on the keyboard to activate it.
In this quick guide, you will learn how to use the freehand tool to draw a tree, line, constrain line, and an enclosed shape.
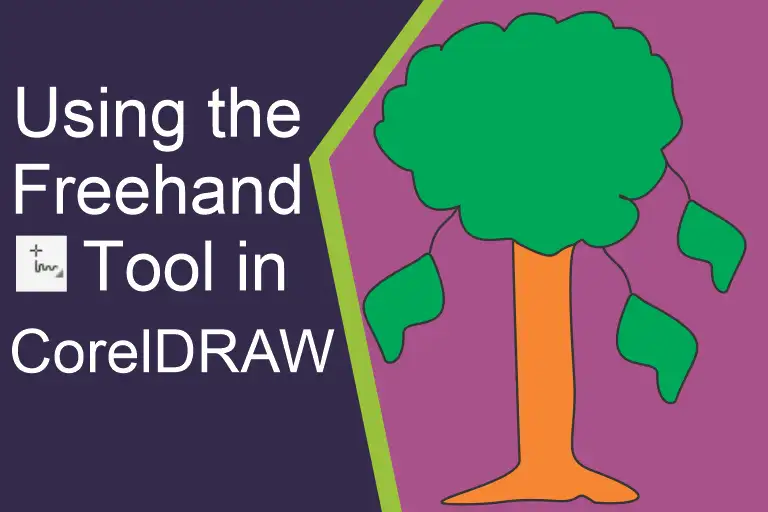
Drawing with the Freehand Tool in CorelDRAW
To draw, for example, a tree using the freehand tool;
- Click and drag the freehand tool in the work area
- Do not take your finger off the mouse until you reach the end of the shape
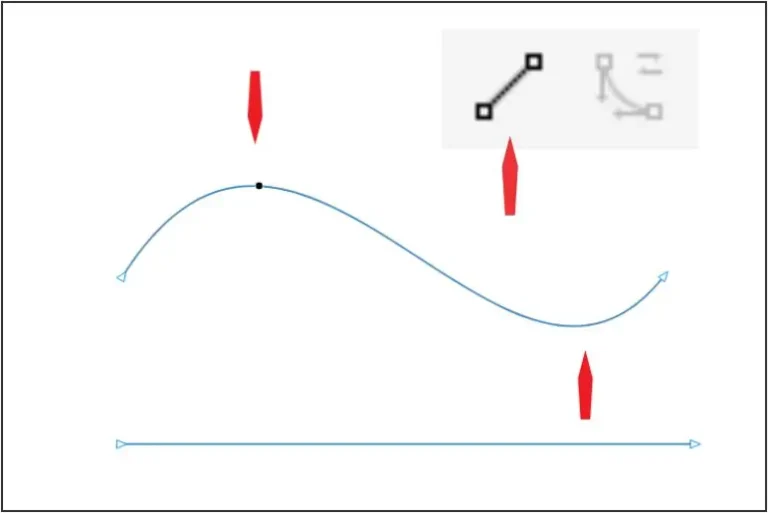
Drawing a Straight Line with a Freehand Tool

- Select the Freehand tool in the toolbar
- Click on the work area
- Release your finger on the left mouse button
- Move the mouse pointer in the right direction
- Click again to create the second point
Drawing a Constrained Line with the Freehand Tool

- Select the Freehand tool in the toolbar
- Click in the work area once
- Hold down the Ctrl key on Windows, Cmd on Mac OS
- Release your finger on the left mouse button
- Move the mouse pointer in the right direction
- Click again to create the second point
Drawing a Horizontal Line with the Freehand Tool

- Select the Freehand tool in the toolbar
- Click on the work area
- Release your finger on the left mouse button
- Move the mouse pointer in the right direction
- Click again to create the second point
Drawing a Vertical Line with the Freehand Tool

- Press F5 on the keyboard to select the Freehand tool
- Click on the work area
- Release your finger on the left mouse button
- Move the mouse pointer to the upward or downward
- Click again to create the second point
Drawing a Rectangle with the Freehand Tool

This is how to create an enclosed shape with the freehand tool in CorelDRAW.
- Pick the tool
- Click once
- Lift your finger and move the mouse pointer to the right
- Create another point by clicking
- Move the mouse to the edge of the last point
- Click in the square/box: this is called the node
- Move the mouse and create another line – this time downward
- Repeat steps 5 & 6 till you close the shape
If you prefer a video please watch the video below.


Usually I do not read article on blogs however I would like to say that this writeup very compelled me to take a look at and do it Your writing style has been amazed me Thank you very nice article
It was great seeing how much work you put into it. Even though the design is nice and the writing is stylish, you seem to be having trouble with it. I think you should really try sending the next article. I’ll definitely be back for more of the same if you protect this hike.
Karley, I’ll definitely protect this hike.
I have been browsing online more than three hours today yet I never found any interesting article like yours It is pretty worth enough for me In my view if all website owners and bloggers made good content as you did the internet will be a lot more useful than ever before
You are right Camilla.