CorelDRAW: How to Draw a Heart (with Pictures)
In this step-by-step guide, you will learn how to draw a heart in CorelDRAW using Ellipse, Polygon, and Shape tools.

One of the most iconic and universally recognized symbols of emotion is the heart. Whether you’re a seasoned graphic designer or a passionate beginner, mastering the art of drawing a heart in CorelDRAW opens up a world of possibilities for expressing love, emotions, and creativity.
How to Draw a Heart in CorelDRAW Tips and Tricks
In the digital realm of creative design, CorelDRAW stands as a powerhouse for bringing imagination to life and unlocking the potential to add your personal touch to various projects.
Because CorelDRAW is a vector graphic software, you can use lines to create both complex and simple designs.
Heads-up
- Program: CorelDRAW 2021 – X7
- Estimated Completion Time: 4 Minutes
Who can learn this: Beginner & Advanced Designer – this tutorial is very basic and made easy so that anyone who can use computer software will get along.
Required Tools
All versions of CorelDraw will work just fine. In this tutorial, we will be using version 23.0 (2021) on Windows 10.
Step 1: Launch CorelDRAW and Set Up Your Workspace
Straight to the field.
- Launch CorelDraw
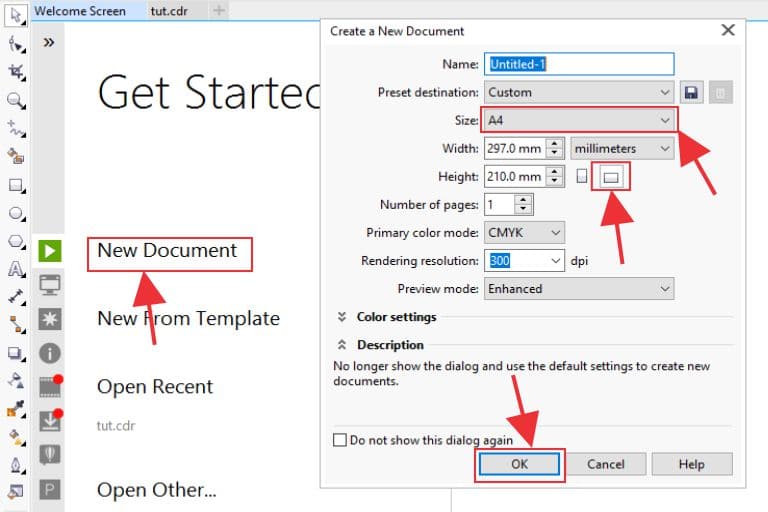
- Click New Document from the Welcome Screen
- From the Create New Document Window:
- Type a custom name in the ‘Name’ field to replace Untitled-1
- Leave default document ‘Size’ as A4
- Change orientation to landscape
- Click ‘OK’ to create a new document
Step 2: Choose the Drawing Tools
Our working environment is now set for work.
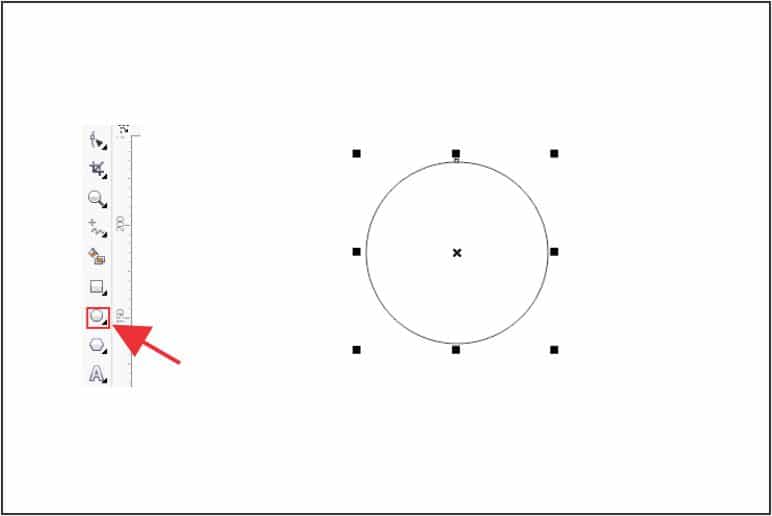
Select the “Ellipse” tool from the toolbar. This will be the foundation for our heart shape.
With the ‘Ellipse Tool’ selected, click and drag to create a perfect circle (hold Ctrl on the keyboard to draw the shape proportionally)
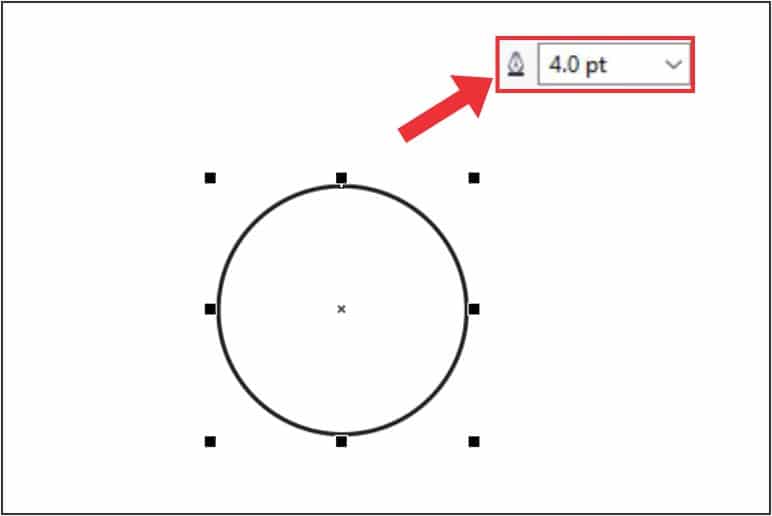
Click on the object and change the outline to 4.0 pt
Step 3: Modify the Circle
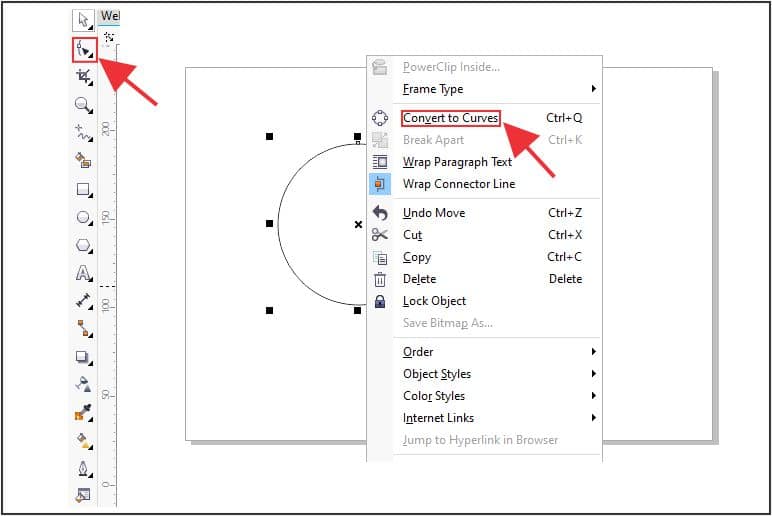
To transform the circle into a heart shape, use the “Shape” tool to manipulate the nodes.
Right-click on the circle and select ‘Convert to Curves’ from the menu. We have to convert to curves to be able to use the ‘Shape Tool’.
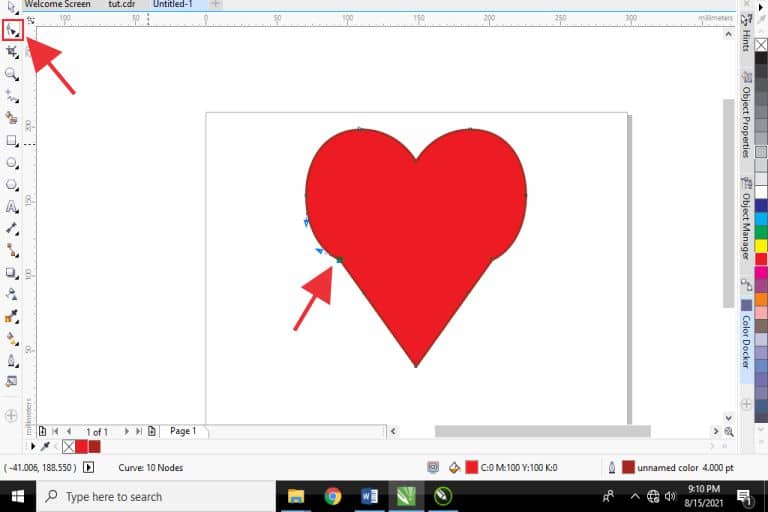
Now, shape the circle using the ‘Shape Tool’. This is the second tool after the ‘Select tool’, the upper left corner (Shortcut: F10)

- Click on the node at the right (center)
- Drag the node towards the left side to shape the object
- Select the object and color it (Red)
- Color the outline dark red by right-clicking the color
Tweak the side nodes to refine the curves and achieve the desired symmetry.
Step 4: Duplicate and Align Shape

Duplicate the heart shape to create a symmetrical effect. Copy and paste the shape or click on it and press Ctrl+D
Use the alignment tools to ensure both halves match perfectly.
Flip the second object from left to right
You can achieve this using the ‘Mirror horizontally‘ tool found on the Property bar

Step 5: Weld the Shapes
Select both objects and ‘Weld’ them

Step 6: Draw the Base with the Polygon Tool
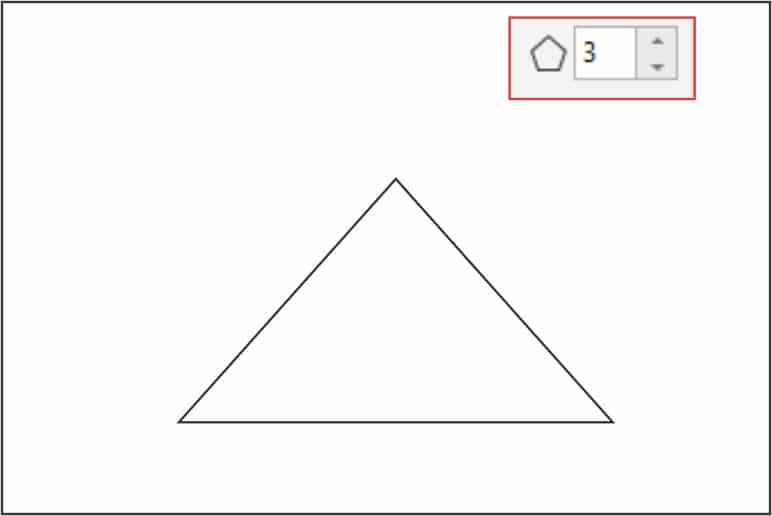
Pick the ‘Polygon Tool’
Decrease ‘Points or sides’ to 3
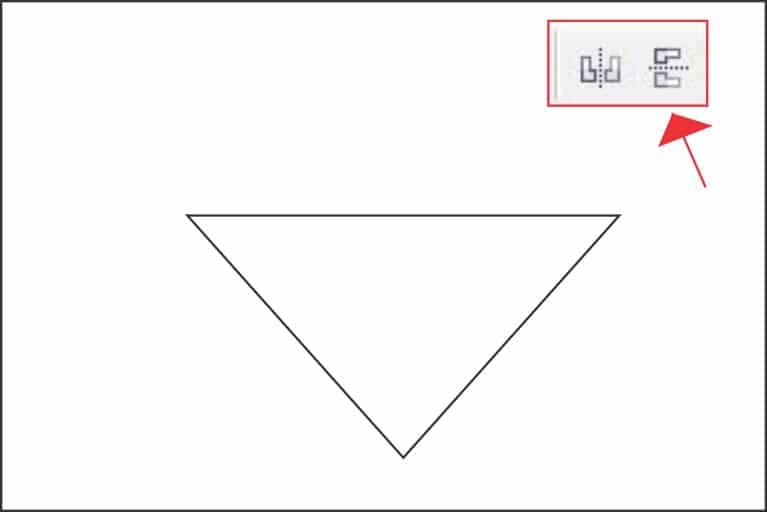
Flip it from top to bottom
- Increase outline width to 4 pt
- Add color (Red)
- Border color (Dark Red)
- Position triangle (as shown in picture)

- Select both objects and ‘Weld’
- Select the object and pick ‘Shape tool’
- Double-click on the ‘node’ (left) that joined the triangle and ellipse to delete it
- Delete the second ‘node’ below it. Learn more about types of nodes and how to use the Shape tool effectively
- Repeat this action on the left
The final result should look similar to the one in the picture below

Step 7: Customize Heart with Fill Tool
- Select the heart
- Press F11 on the keyboard to access the ‘Fountain Fill Tool’
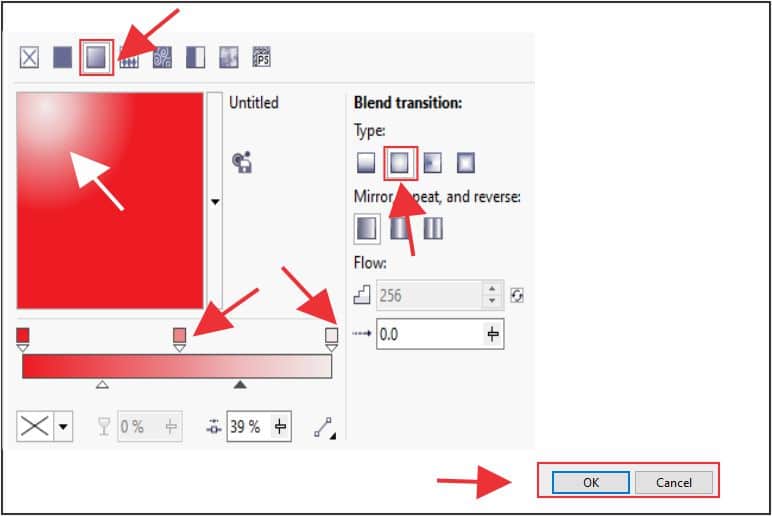
- Select radial
- Add a color slider in the middle and adjust the sliders to achieve the same result above
- Click Ok
Experiment with colors, gradients, and effects to customize the heart to suit your project.
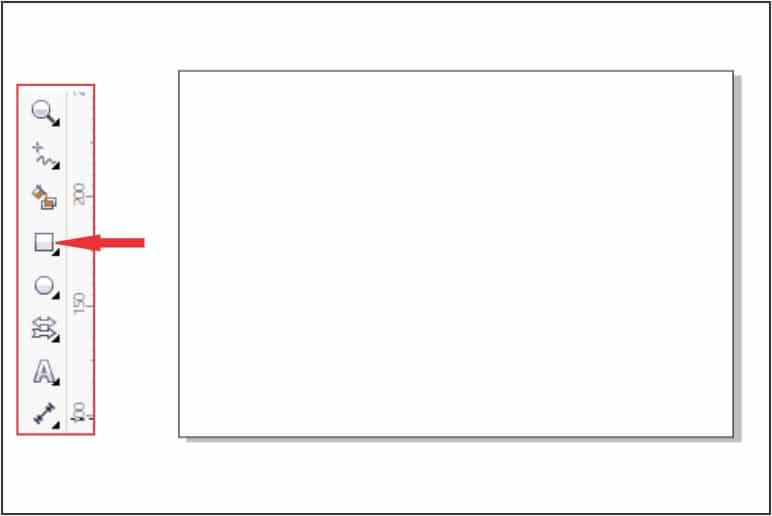
Step 8: Drawing Background
Click the ‘Rectangle tool’ and draw a rectangle to fill the work area (F6) or double-click on the rectangle
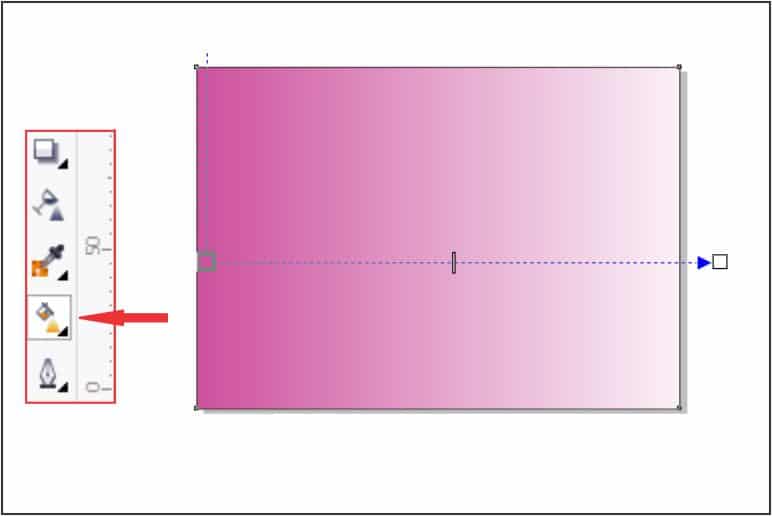
- Select the rectangle and choose the ‘Interactive Fill tool’
- Drag it from left to right
- Click on the square shape of the Interactive Fill tool on the left and add a color of choice (default colors: black & white)
- Adjust the slider to replicate the color mixture of the picture that follows this point
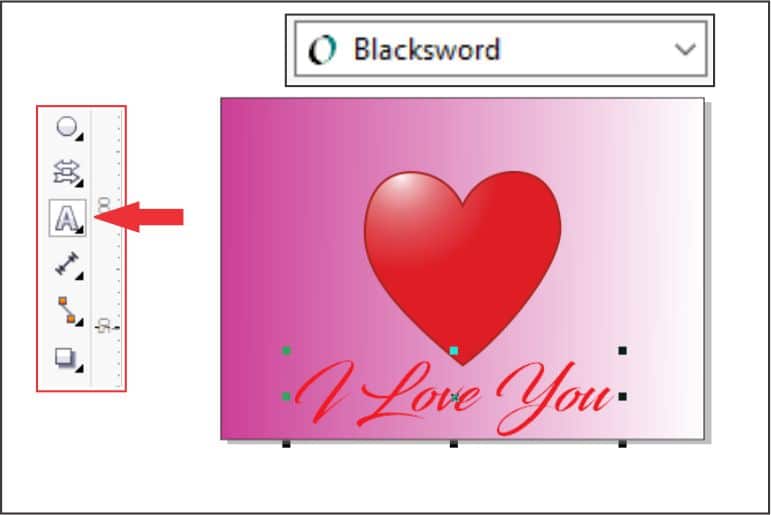
Step 9: Add Details
Pick ‘Text tool’
Click on the background you just designed and type a unique text that will move the heart of your loved one
Highlight and choose the desired font (in this case ‘Blacksword’)
Give it the color red
Final Stage
Now you are done with your design. All you need to do is export, share it on social media, or print it.
Step 10: Export and Share
Once you’re satisfied with your heart design, save your CorelDRAW file and export the image in your preferred format.
Share your creation on social media, use it in print materials, or incorporate it into other design projects.
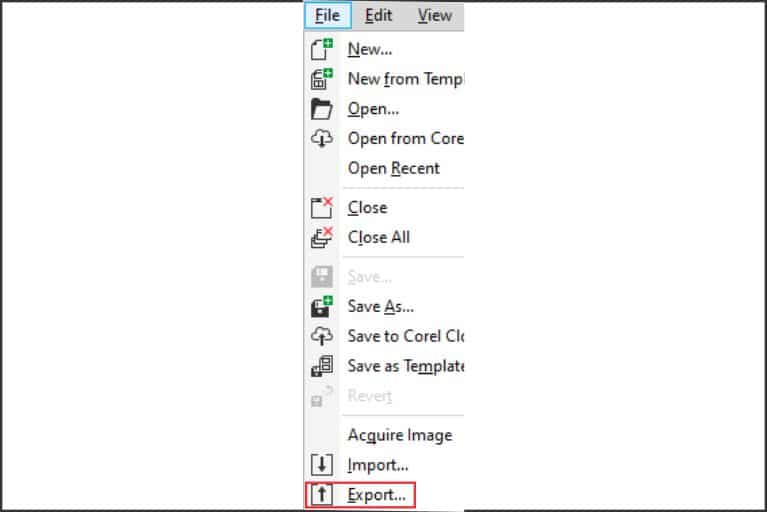
How to Export CorelDRAW Design
- Click on ‘File menu’
- Select Export
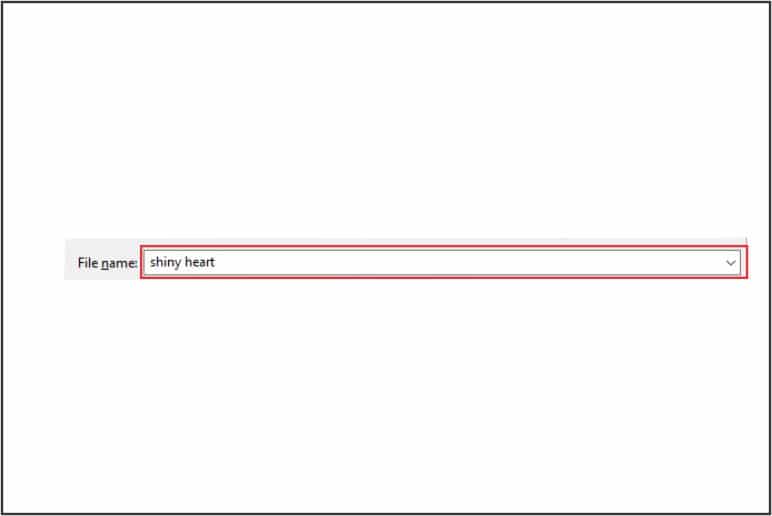
Give the file a name in the ‘File name’ field
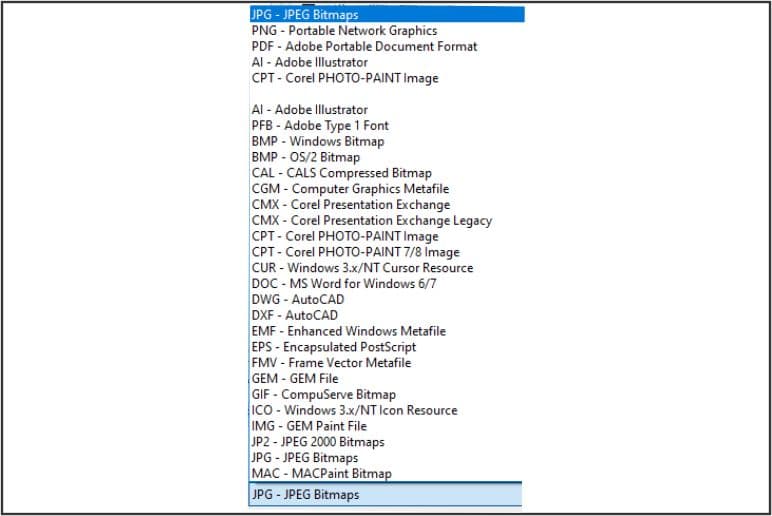
Drop down the ‘Save as type’ panel and choose JPG
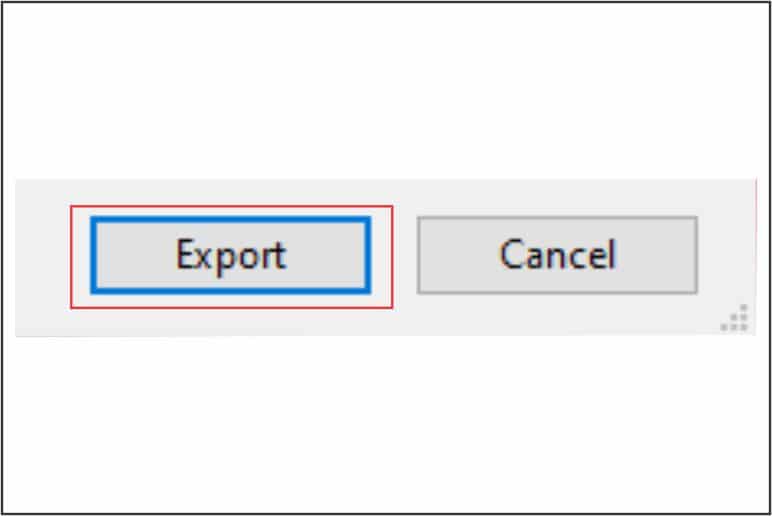
Click ‘Export’ to export the JPG file
Transfer the File to a USB Device on Windows 10
- Connect the USB device to the USB port of the computer
- Search for File Explorer in the Windows search bar
- Locate the file and right-click on it to copy it
- Click on This PC in the File Explorer and locate your USB drive in the Devices and drives column
- Double-click to open the drive
- Now, right-click on a space and select the paste option from the shortcut menu to paste the image
Transfer the Image to an Android Phone
- Connect the phone to the computer
- Press Ctrl+ N on the keyboard to open the File Explorer
- Locate the image and copy it
- Click This PC
- Find your phone by its name in the Devices and drives category
- Right-click on a blank space on the internal or external memory and paste the image
Copying File to External Hard Drive
- Connect the USB device to the USB port of the computer
- Search for File Explorer in the Windows search bar
- Locate the file and right-click on it to copy it
- Click on This PC in the File Explorer and locate your USB drive in the Devices and drives category
- Double-click to open the drive
- Now, right-click on a space and select the paste option from the shortcut menu to paste the image
What is CorelDRAW?
CorelDRAW is a software for editing vector graphics. A vector graphic is comprised of paths, instead of a grid of pixels.
This makes it easy for designers to use CorelDraw to create line art and draw simple and complex diagrams.
The versatile nature of CorelDraw and its simplicity will help you quickly create a design.
Conclusion
Dive into CorelDRAW, let your imagination soar, and craft hearts that resonate with emotion and creativity. Happy designing!


Excellent blog here Also your website loads up very fast What web host are you using Can I get your affiliate link to your host I wish my web site loaded up as quickly as yours lol