5 Ways to Remove Background in CorelDraw (Fast and Easy)
Are you a marketing team that wants to create visually appealing advertisements for your website, social media channels, and printed materials? To make the product stand out and maintain a consistent brand image, you need to remove the background from the images and replace them with a transparent or more suitable background.

In CorelDraw, you can remove the background from an image using various tools and techniques. In this guide, I discussed 5 ways to remove background in CorelDraw using the Pen tool, Shape tool, Eraser tool, PowerTrace, and PowerClip tool. Here’s a step-by-step guide on each tool and technique with illustrations.
Why a Business Should Remove Background Image
- Focus on the Product: By removing the cluttered background, the focus shifts entirely to the product itself, allowing potential customers to concentrate on its features and benefits without distractions.
- Brand Consistency: The marketing team wants to maintain a consistent brand image across all their promotional materials. By replacing the original background with a uniform one or making it transparent, they can ensure that the visuals align with the brand’s aesthetic and messaging.
- Enhanced Visual Appeal: A clean, professional-looking image with a transparent or complementary background enhances the overall visual appeal of the advertisement. It can attract more attention from consumers browsing through various marketing channels.
- Versatility: Transparent backgrounds provide versatility in how the images can be used. They can easily overlay the product images on different backgrounds or blend them seamlessly into various design layouts without worrying about clashing colors or inconsistent themes.
- Adaptation for Different Platforms: Different platforms may have specific requirements for image dimensions or background styles. By removing the background and making it transparent, the team can easily adapt the images for use on websites, social media platforms, print materials, and more.
- Professionalism: A professionally edited image with a clean background conveys a sense of professionalism and attention to detail, which can positively impact the brand’s perception among consumers.
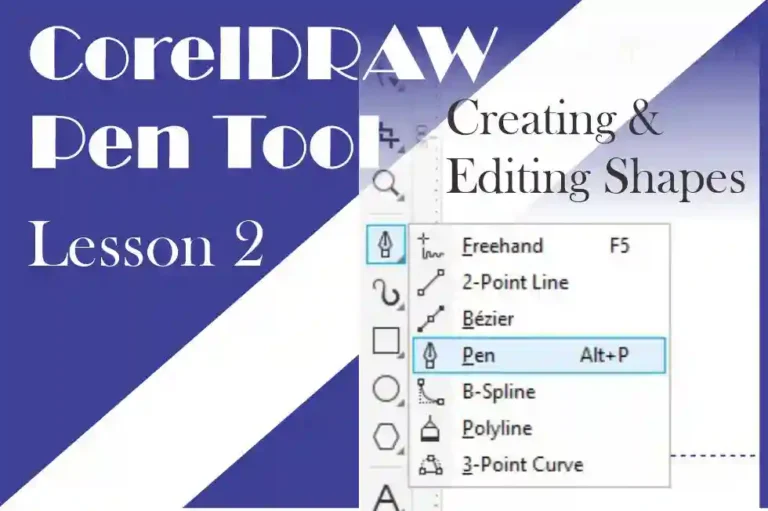
1. How to Use Pen Tool to Remove Background in CorelDraw
If you prefer video watch the video below
Learn how to remove the background from a picture in CorelDRAW and replace it with a different background using Pen and Shape tools respectively.
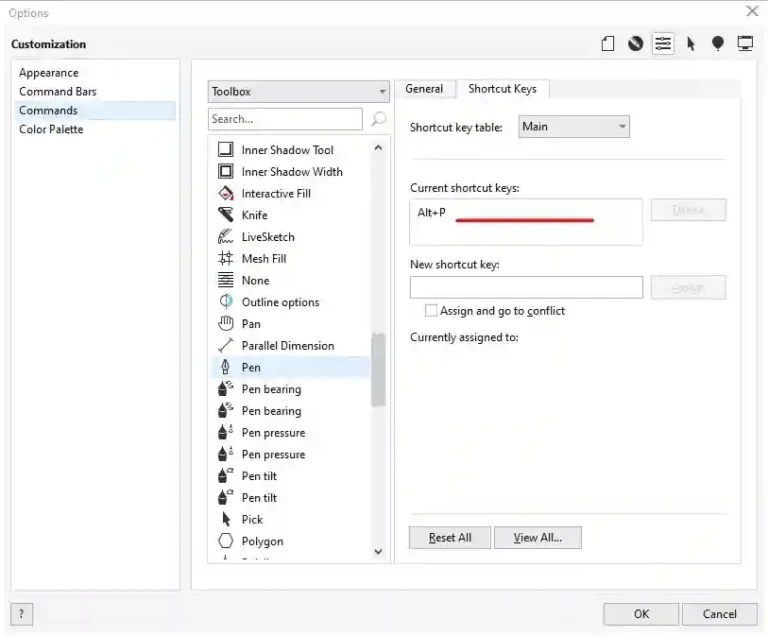
New to the Pen Tool? Here’s my free Pen Tool Series that promises basic to advanced knowledge for a newbie. CorelDraw Pen Tool: How to Create and Edit Shapes.
Head Up
Program: CorelDraw X6 – 2021
Estimated Completion Time: 15 Minutes
Who can learn this: Beginner & Advanced Designer – you should have basic knowledge of using the Pen tool and manipulating the Shape tool.
Required Tools: All versions of CorelDraw will work just fine. In this tutorial, we will be using 2019 on Windows 10.
Design in Part
Step 1: Creating a Worksheet or Work Environment
Straight to the field.
Launch CorelDraw.
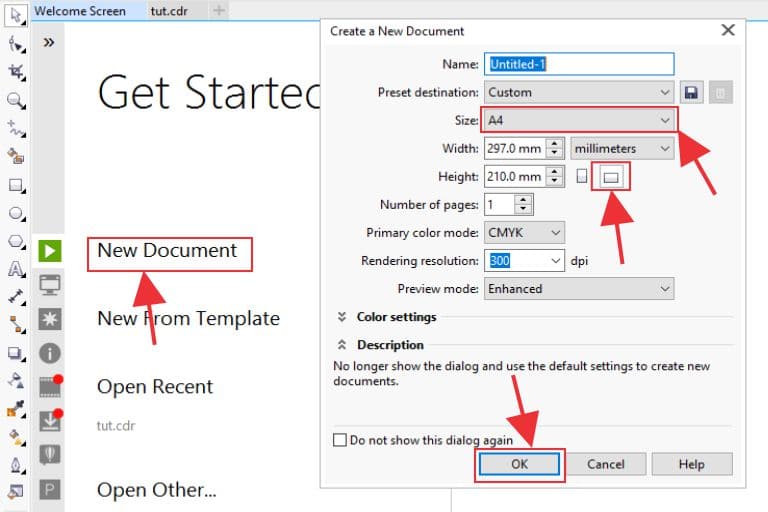
Click New Document from the Welcome Screen
From the Create New Document Window:
- Type a custom name in the ‘Name’ field to replace Untitled-1
- Leave default document ‘Size’ as A4
- Change orientation to landscape
- Click ‘OK’ to create a new document
Step 2: Import the Image to Work with
Our working environment is now set for work.
Let’s import the photo we will be editing.
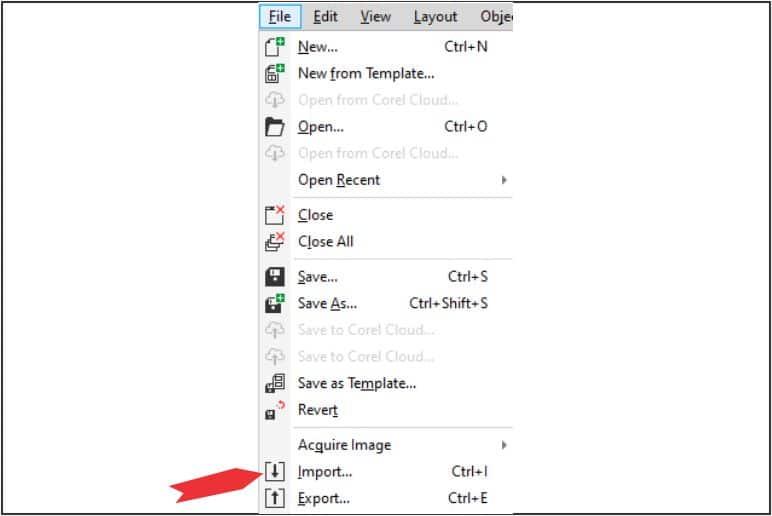
Click on File
Click Import on the File menu
Select an image from the dialog box
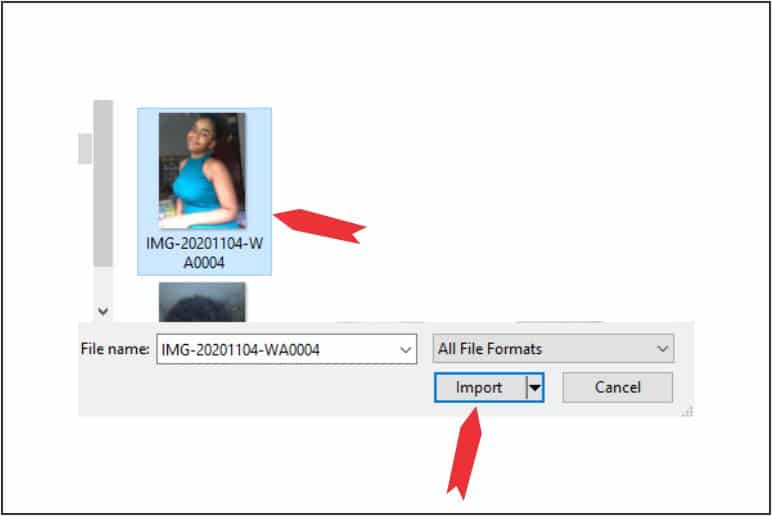
Click Import to import the image
Click a space to complete the process

Step 3: Working with Pen Tool
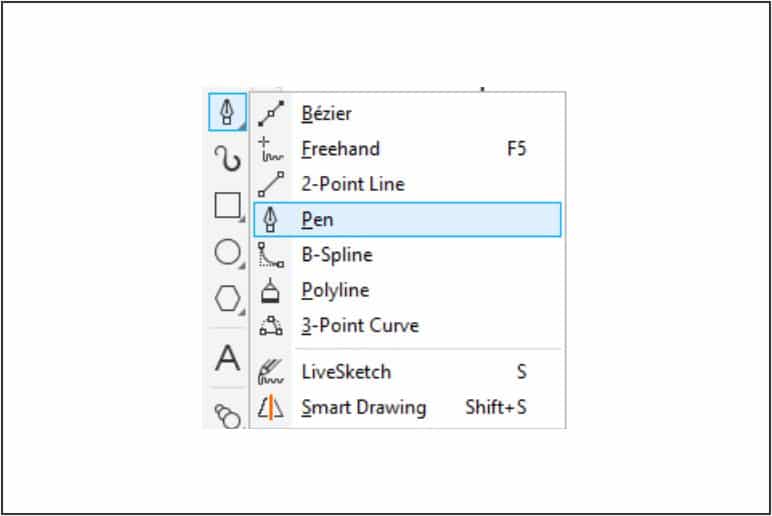
Choose Pen tool
Click the upper part of the image
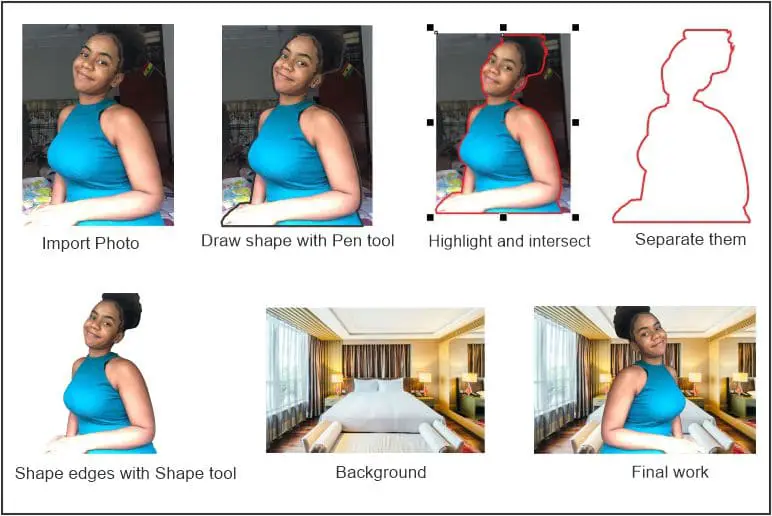
Draw a shape in the form of the picture you imported
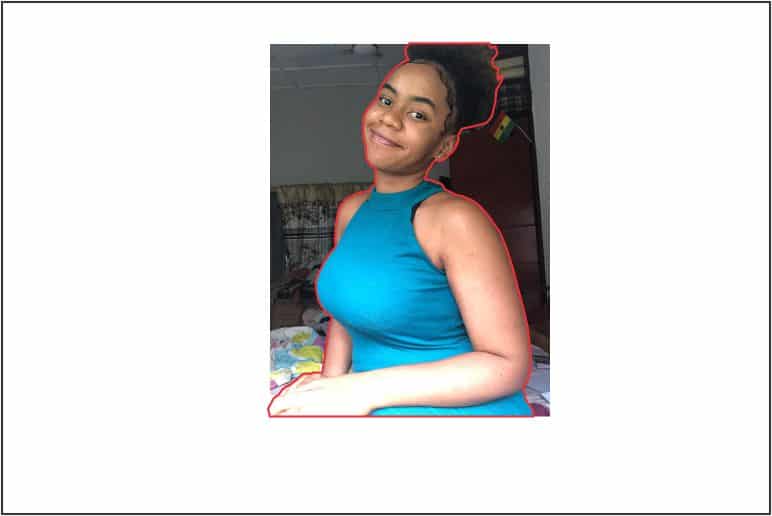
Click exactly the starting point of the shape to connect the shape
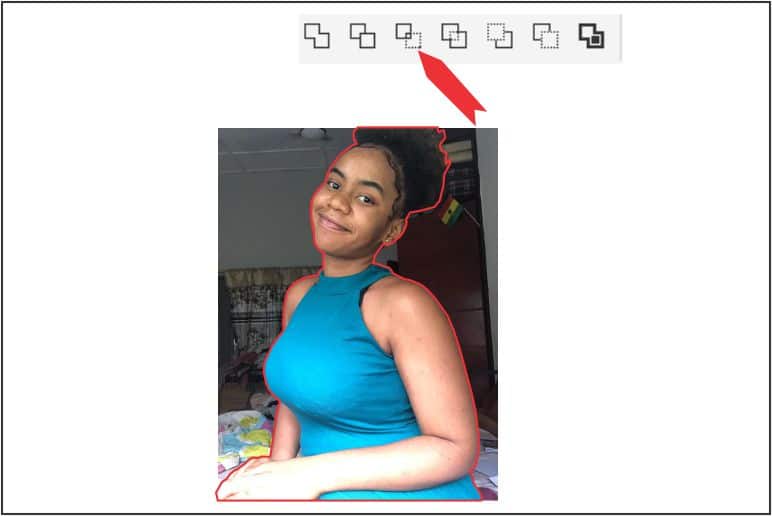
Highlight both shape and image together and click intersect
Separate sketched photo from the original
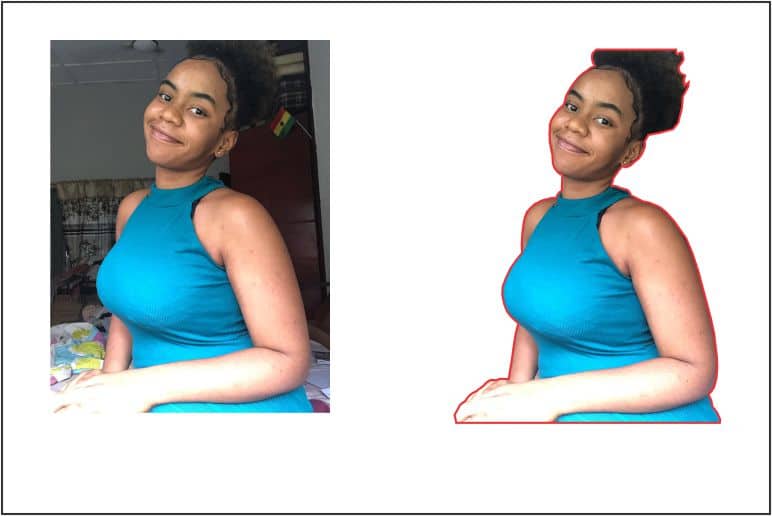
Remove the shape around the cropped photo

You will notice only the portion marked by the Pen tool is cropped. With this, it is easier to work with the image and give it a new background.
Step 4: Working with Shape Tool
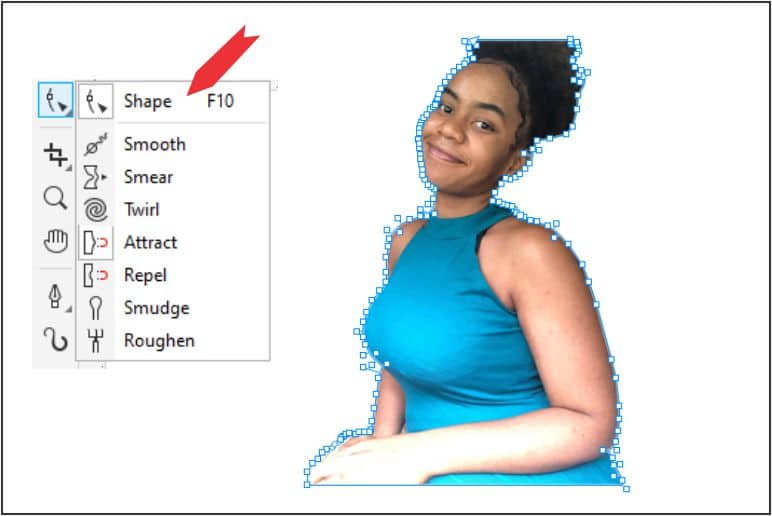
Now, shape the image using the Shape tool. This is the second tool after the Select tool, upper left corner (Shortcut: F10)
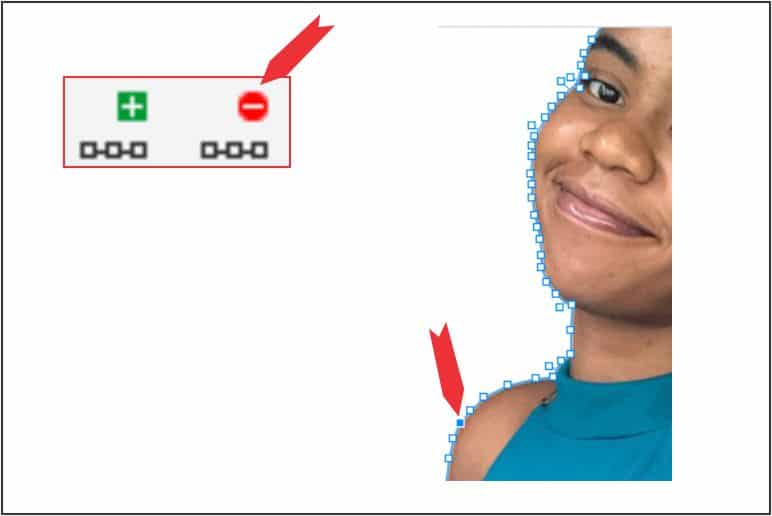
There are many nodes generated. To create a smooth edge and make the photo look natural; you have to delete some of the nodes and also convert others to curves.
Click on a node
Select the curve tool to convert to a curve
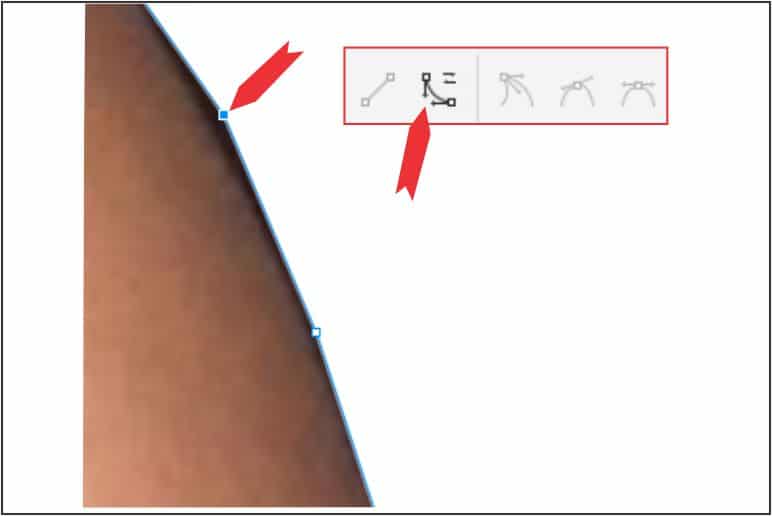
Click on the delete button to remove a node
Move the mouse pointer to the arrow upward or downward
Drag it to create a curve at edges that are rounded e.g., shoulder, cheek, etc.

The final look of the shaped image

Step 5: Opening Background Image
It’s time to import the background that will best fit our image.
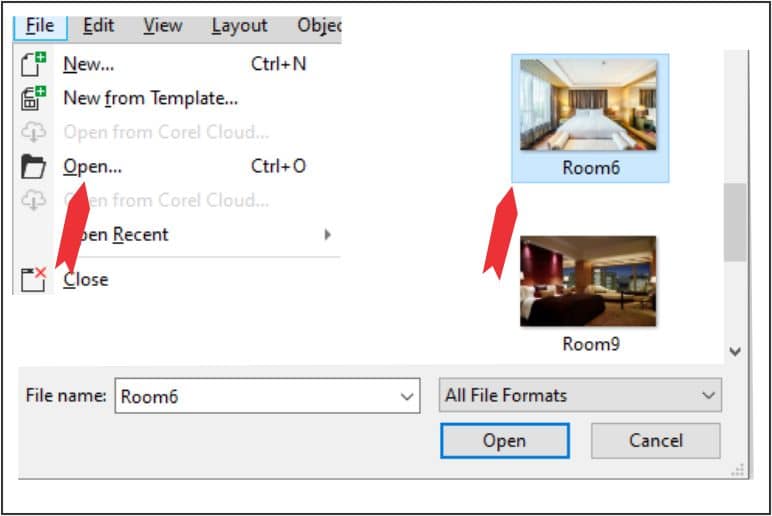
Click on File
Select Open from the File menu
Choose an image from the dialog box
Click Open
Adjust the image you cropped on the background until it fits
Try with different backgrounds for the best match.
Final Stage
Now you are done with your design. All you need to do is export it, share it on social media, or print it.
How to Export Picture Designed in CorelDraw
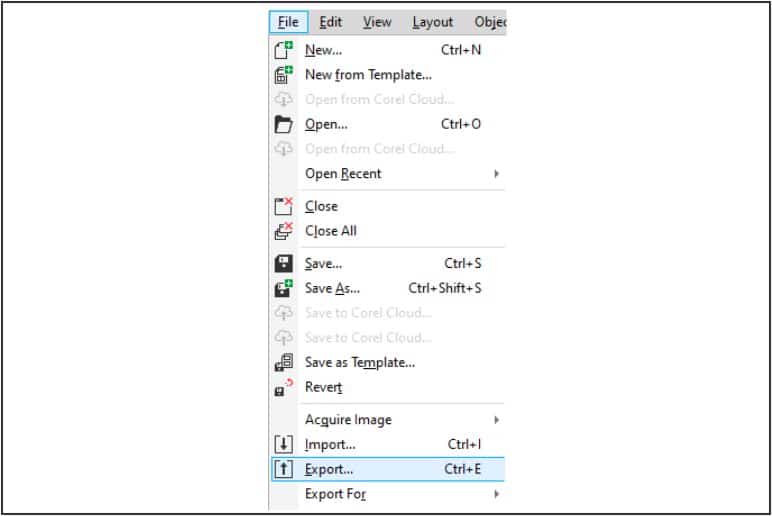
Click on the File menu
Select Export
Give the file a name in the File name field
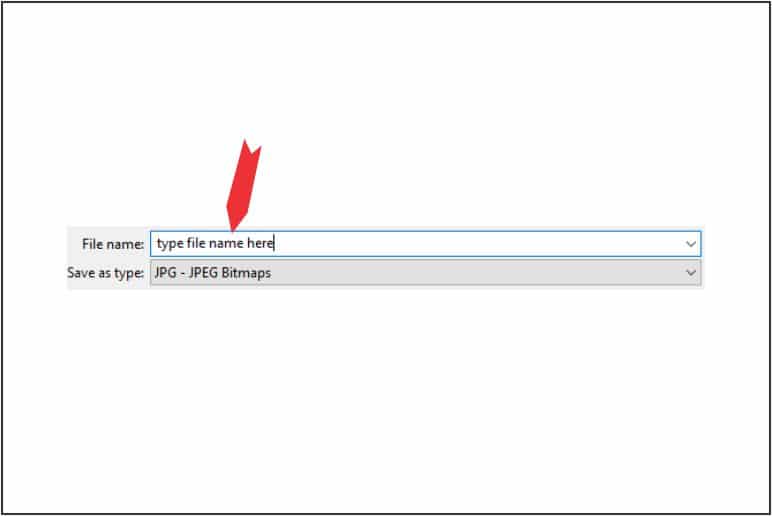
Drop down Save as type panel and choose JPG

Click Export to export the JPG file
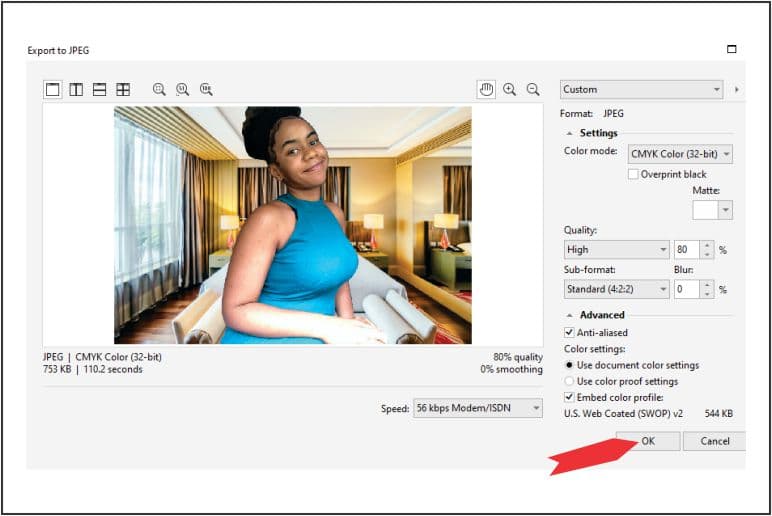
Click OK
2. Revome the Background in CorelDRAW with the Eraser Tool
Step 1: Open Your Image
Launch CorelDRAW and open the document containing the image you want to edit.
Step 2: Select the Eraser Tool
Click on the “Eraser Tool” in the toolbox to remove the unwanted areas in the background.
Step 3: Adjust Tool Settings
Adjust the tool settings, such as thickness, round nib, and pen pressure, to suit your needs. You can find these settings in the Property bar at the top of the screen.
Step 4: Erase the Background
Click and drag the Background Eraser Tool over the background you want to remove. The tool will automatically erase the background.
Step 5: Fine-Tune as Needed
Zoom in on the image and fine-tune the erased areas using the Shape tool to get rid of any remaining background.
Step 6: Save Your Work
Save your document to preserve the changes.
3. PowerTRACE to Remove the Background in CorelDRAW
This tool comes in handy if your image is a bitmap and you want to convert it to a vector for more precise editing, you can use the PowerTRACE feature.
Step 1: Import Your Image
Open your image in CorelDRAW.
Step 2: Select Your Image
Click on the image to select it.
Step 3: Access PowerTRACE
Go to “Trace Bitmap” in the “Property bar,” click the caret symbol, and choose “Outline Trace” > “Logo” or “Detailed Logo,” depending on your image complexity.
Step 4: Adjust Settings
In the PowerTRACE docker, adjust the settings to achieve the desired level of detail. You can experiment with different presets to see which one works best.
You can also reset PowerTRACE by clicking “Reset” if you are not satisfied with the current settings.
Step 5: Trace and Expand
Click “OK,” to convert the traced image to vector objects.
Step 6: Separate the Traced Object
Drag the traced object to separate the vector image from the original image.
Step 7: Ungroup the Vector Objects
Select the traced object and click on “Ungroup objects” to break a group into individual objects or groups.
Step 8: Edit the Vector Objects
Use the Direct Selection tool and other vector editing tools to remove unwanted background elements.
Use the “Shape tool” to modify the object.
Step 9: Save Your Work
Save your document to keep the changes.
4. Use the PowerClip Tool to Remove Background
Step 1: Import and Duplicate Image
Import your image into CorelDRAW and duplicate the image to create a backup.
Step 2: Create a Rectangle
Draw a rectangle around the object, covering the background you want to remove.
Step 3: PowerClip the Image
Select the image, then go to “Object” > “PowerClip” > “Place Inside Frame.” You notice an arrow on the screen.
Click inside the rectangle to place the image in the frame.
Step 4: Adjust as Needed
Use the Pick tool to adjust the position and size of the image within the rectangle to achieve the desired composition.
Step 5: Edit the PowerClip
Double-click on the rectangle to enter the PowerClip container. Use the Shape tool to edit the rectangle or add additional shapes to refine the mask.
Step 6: Exit the PowerClip
Click outside the container to exit the PowerClip. The background outside the mask will be hidden.
Step 7: Save Your Work
Save your document to preserve the changes.
Time to Choose
Choose the method that best fits your needs and the complexity of your image. Experimenting with different techniques may give you the best results.
I gave you several tools and techniques to remove the background in CorelDRAW. Tell me which tool and technique you will use to remove the background in CorelDRAW.