Video Timeline: The Right Way to Use It
Are you just starting with video editing or you are an advanced learner but yet to figure out the names of the tools you engage with daily. Understand the video timeline and the right way to use it.
Video editing is a dynamic and creative process that transforms raw footage into a seamless and engaging visual masterpiece. One of the fundamental elements in the video editing workflow is the timeline. In this article, you will understand the timeline and the steps for adding clips to the timeline.
Mastering the Video Timeline
Lacking knowledge about the video timeline simply means you cannot edit videos as a professional editor. This is because all the editing takes place on the timeline.
You should know how to position the “Playhead” if you want to trim a video or apply an effect to a part of the clip.
The Playhead is the vertical bar that moves in the timeline when you play the video. You can drag the Playhead to any location on the timeline.
That is just an example of the things you do in the timeline.
After learning about the timeline, you can edit videos with your favorite video editing software.
What is a Video Timeline
The timeline is the workspace in video editing software where you drag and drop video and audio clips. You cut, trim, split, and apply overlays, effects, and transitions to the clips on the timeline. All the elements applied to the clips are sequentially visible on the timeline, facilitating easy manipulation.
The Importance of the Video Timeline
The timeline is the canvas where editors bring their vision to life. It is a graphical representation of the video’s progression over time, allowing editors to organize, arrange, and manipulate various elements seamlessly.
Understanding the timeline is crucial for effective storytelling and maintaining a smooth flow within the video.
What are the Parts of a Video Timeline?
The timeline allows editors to control the pacing, structure, and synchronization of their projects.
Take graphic design software, such as CorelDraw or Adobe Photoshop.
These tools provide a workspace where designers can arrange their lines, images, and shapes to have a clear view of their design and manipulate shapes for optimal results.
The same principle applies to the video timeline. The video timeline is the graphical representation of the video’s progression over time.
Let’s look at the key components of the video timeline.
Key Components of the Video Timeline
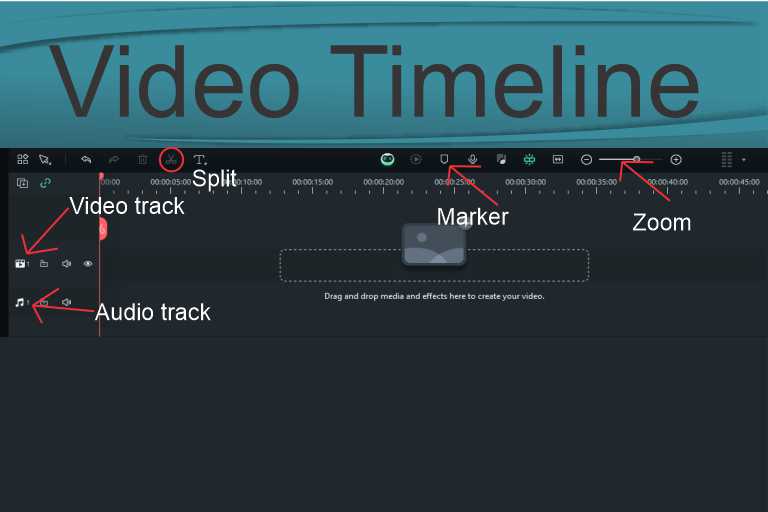
1. Tracks
Video and audio tracks are the building blocks of the timeline. Video tracks hold visual elements, while audio tracks contain sound elements such as music, dialogue, and sound effects.
Multiple tracks allow editors to layer different elements, creating a rich and complex visual and auditory experience.
2. Markers and Indicators
Markers help identify specific points in the timeline, making it easier to navigate and coordinate edits.
Indicators, such as the playhead, show the current position within the timeline, aiding precise editing and synchronization.
3. Timeline Structure
This includes the overall layout and structure of the timeline, including the arrangement of tracks and the organization of clips.
Overall Look at the Video Timeline Tools
Tools like the razor tool, selection tool, and zoom controls empower editors to make precise cuts, select clips, and navigate through the timeline efficiently.
1. Selection Tool
The selection tool allows editors to choose and move clips within the timeline.
2. Razor Tool
The razor tool is used for cutting and trimming clips on the timeline.
3. Zoom Controls
These tools help navigate and zoom in or out of the timeline for detailed editing.
4. Transitions and Effects Tools
Tools for adding transitions between clips, as well as applying visual effects and adjustments.
5. Editing Tools
Editing tools are the various tools for manipulating clips, such as resizing, rotating, or adjusting the speed.
Difference Between Video Timeline Components and Tools
Video timeline components are the foundational elements that make up the structure of the timeline, such as tracks, markers, and overall organization (timeline structure).
On the other hand, video timeline tools encompass the specific editing tools available within the editing software, such as selection tools, razor tools, and transition tools, which allow editors to interact with and manipulate the components on the timeline.
Together, these components and tools empower editors to craft a seamless and visually appealing final video.
Adding Clips to the Timeline
Now that you know the importance of the timeline, let’s explore the process of adding clips to create a video before we wrap up.
1. Importing Footage

Working in the timeline begins with importing your raw footage into the editing software. This can include video clips, audio files, and images.
You can also design shapes like arrows, boxes, flowers, or cartoons and import them into the editing software as images.
After importing the raw footage, organize your media assets in a dedicated project folder to streamline the editing process.
2. Understanding Clip Placement
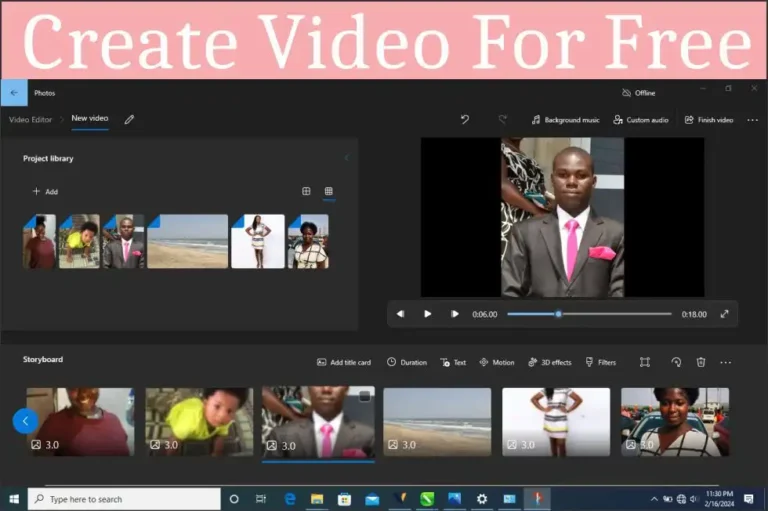
Drag and drop video clips onto the timeline to initiate the editing process or simply hover over the file and click on the plus (+) sign to add the media file to the timeline.
Timeline-enabled video editing software facilitates drag-and-drop functionality.
Place clips on different tracks to control the layering of visual elements.
For example, the main video track may contain primary footage, while overlay tracks house additional graphics or effects.
3. Trimming and Cutting
Use the razor tool to cut and trim clips as needed. This allows you to remove unwanted sections, create seamless transitions, and control the pacing of your video.
Utilize keyboard shortcuts to enhance efficiency and speed up the editing process.
4. Audio Considerations
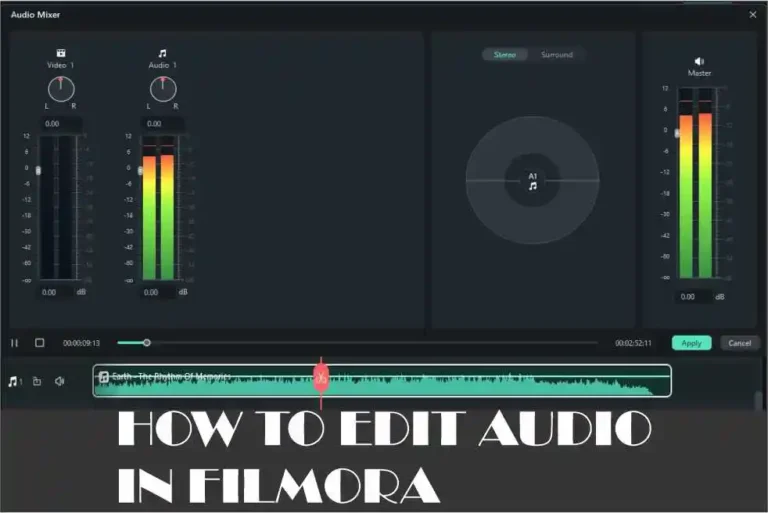
Align audio clips with corresponding video clips to maintain synchronization.
Adjust audio levels and add transitions to create a balanced and immersive auditory experience.
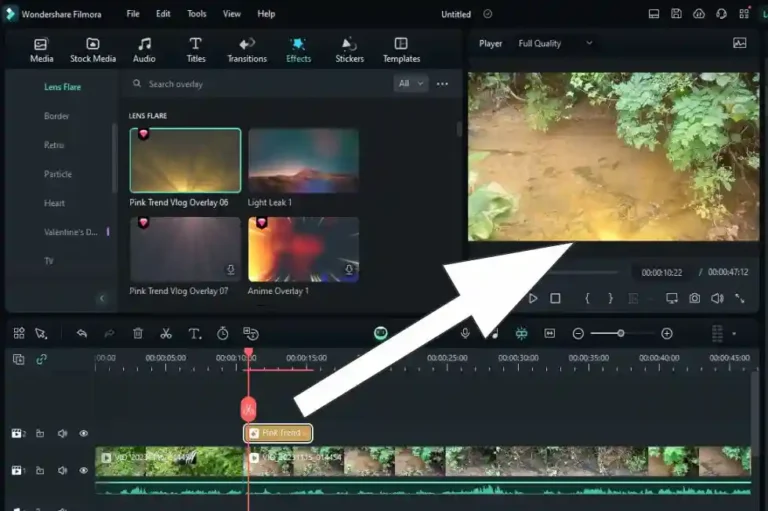
5. Adding Transitions and Effects
Enhance the visual appeal of your video by incorporating transitions between clips. This includes fades, dissolves, and wipes.
Experiment with visual effects to add a creative touch, but ensure they complement the overall narrative.
Conclusion
Understanding the timeline and effectively adding clips are fundamental skills in video editing. Mastery of these concepts enables editors to craft compelling stories, control the pacing of their videos, and deliver a polished final product.
That’s all about the video editing timeline family!
Let me know if I have left something out in the comment section below.

Its like you read my mind You appear to know so much about this like you wrote the book in it or something I think that you can do with a few pics to drive the message home a little bit but instead of that this is excellent blog A fantastic read Ill certainly be back
Thank you.