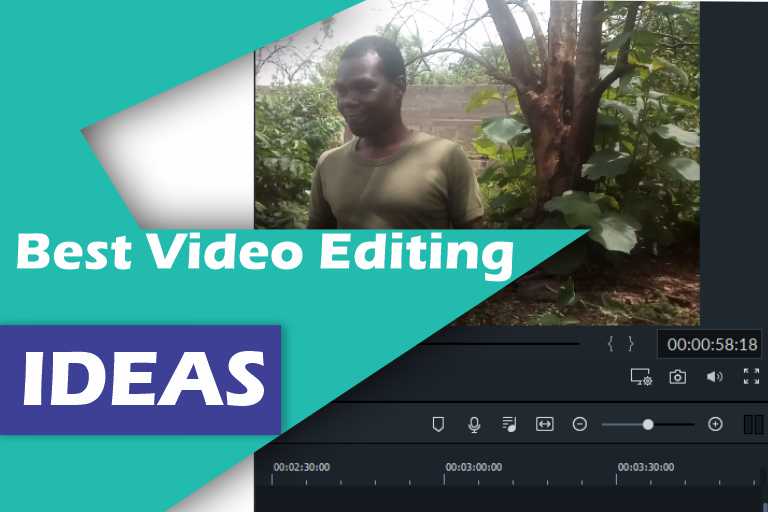
Add Text and Titles to Your Video in Filmora 13
In video creation, use text and titles strategically to get your message across effectively. Learn how to convey messages easily in your videos.
Wondershare Filmora equips you with robust text tools that allow you to craft professional-looking titles, subtitles, and captions. In this guide, I’ll give you step-by-step procedures to add text and titles to your video in Filmora 13.
Add Text and Titles to Your Video
Transform your videos with text in Filmora! Follow these easy steps to add compelling titles and messages. Elevate your content creation game effortlessly—discover the art of impactful storytelling today!
1. Open Your Filmora Project
Launch Filmora and open your existing project or create a new one. Ensure that your media files are imported and arranged on the timeline.
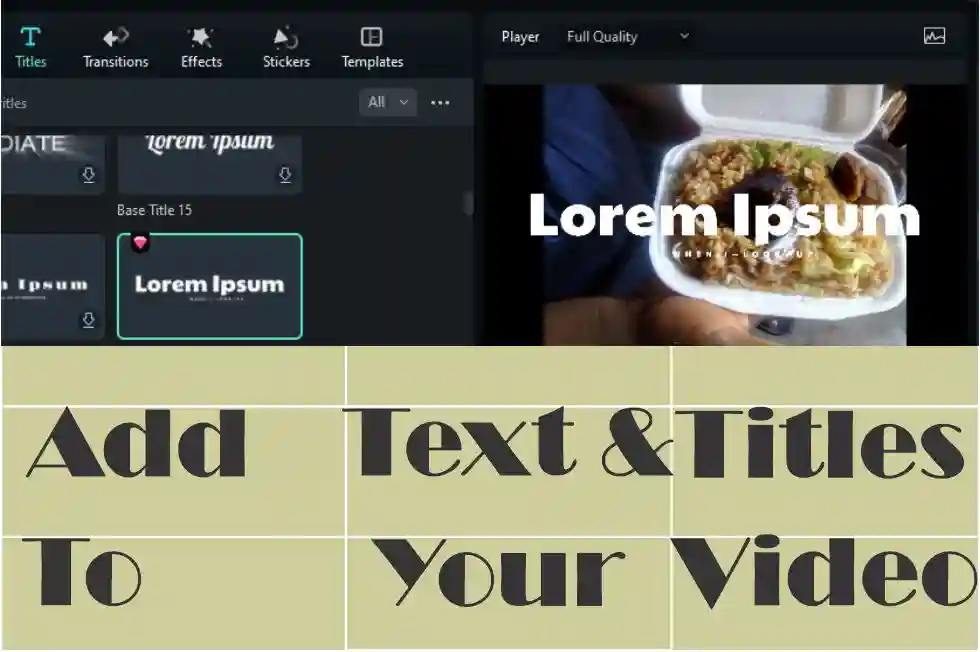
2. Access the Titles Tab
Navigate to the top menu and click on the “Titles” tab. Here, you’ll find a variety of text templates, styles, and animations including Trending, Plain, VFX Text, Subtitles, and End Credits to choose from.

Wait for the “Titles” library to populate with text presets. You must be connected to the internet if you have not already downloaded any titles.
The “Trending” tab displays new templates uploaded to the Filmora library regularly. The “VFX Text” tab has visual effects text you can add to your video.
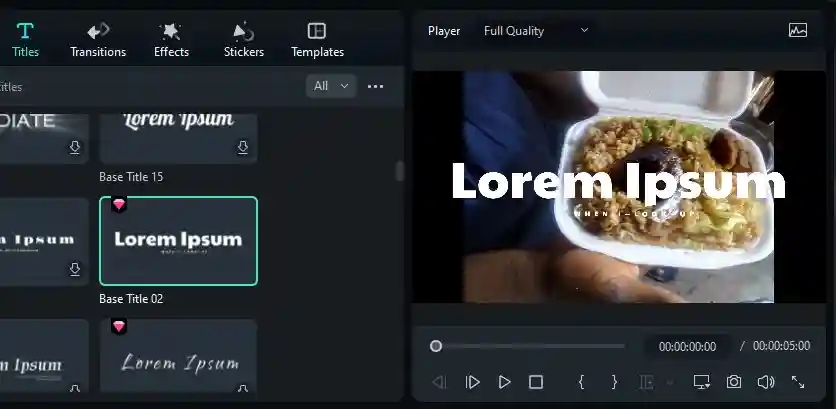
3. Select a Titles Template
Browse through the available “Titles” templates and choose the one that suits your video’s theme or mood. Click on the template to preview its animation.
In this case, we will choose a template from the “Plain Text” template.
Click the download button to download your text.

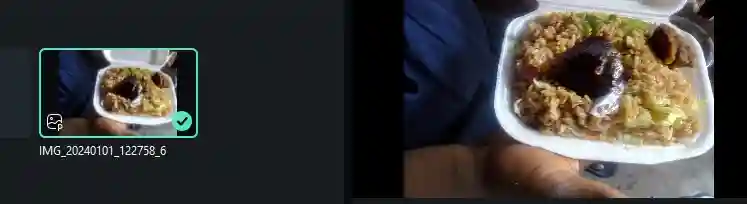
4. Drag and Drop
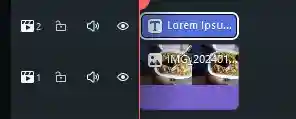
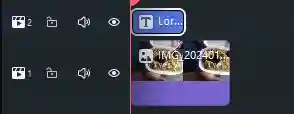
Once you’ve selected a text template, drag it from the “Titles” library and drop it onto the timeline above the video clip where you want the text to appear.
5. Customize Text Elements
Click on the added text element in the timeline to access customization options. You can modify the text content, font, size, color, and more.
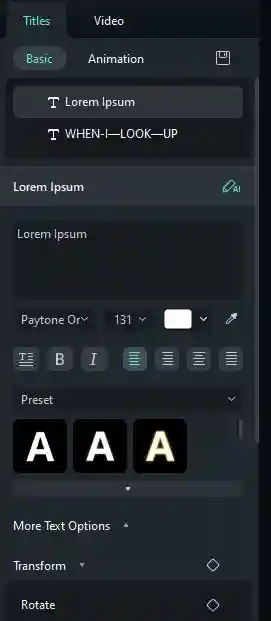
Experiment with different fonts and styles to align with your video’s aesthetic.
Click on the default text in the editing panel to select it and then click in the text box to edit the text.
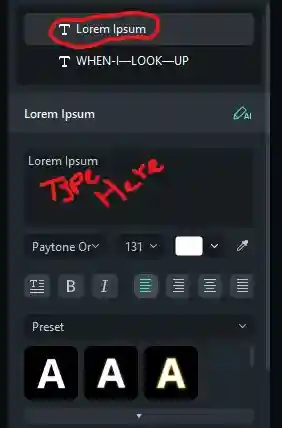
Change the font, size, and format of your text to suit your video’s theme.
6. Adjusting Duration
Extend or shorten the duration of the text element by dragging its edges in the timeline. Ensure that the text appears on the screen for the desired duration.
Before changing the text element duration.
After changing the text element duration.
7. Advanced Text Edit
Right-click the text and click “Advanced Edit.”

In the “Advanced Text Edit,” you can change text font, size, and color, and adjust transitions of titles and subtitles.
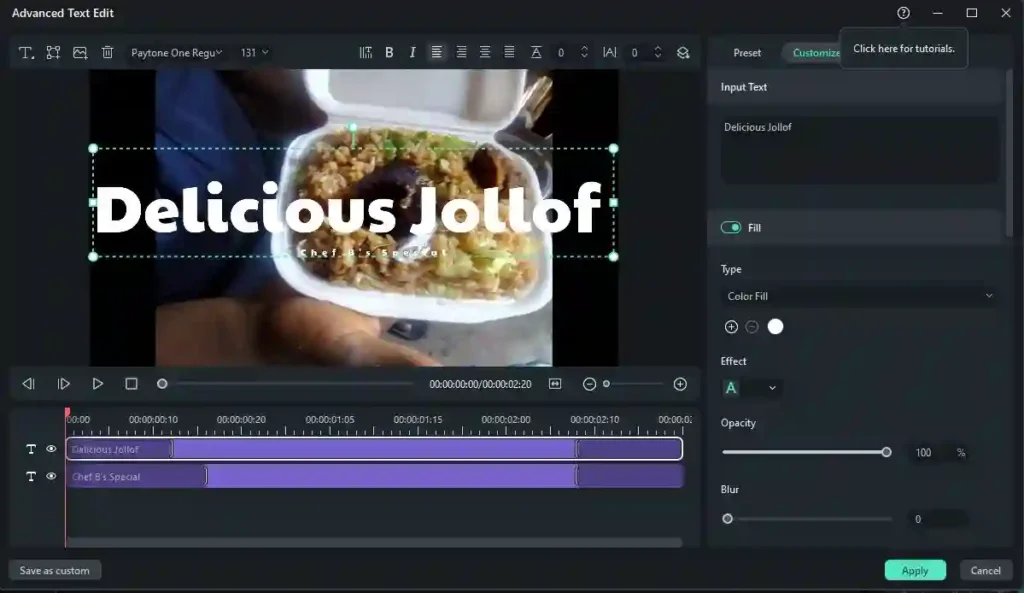
Drag the sliders to change text duration and transition in the text track.

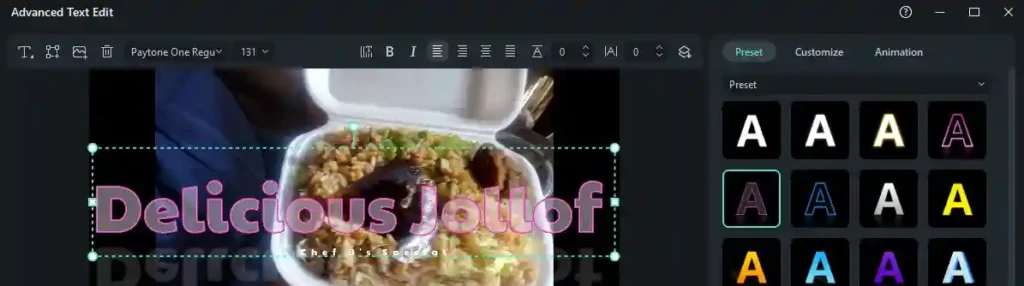
To change the text preset, click the “Preset” tab and choose your favorite preset.
Preview changes in the “Advanced Text Edit” preview window. Click “Apply” if you are satisfied with your changes.
Cancel the “Advanced Text Edit” window to return to the Filmora timeline.
Creating Titles and Subtitles
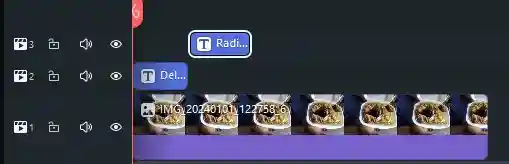
1. Separate Title Track
For more control over titles and subtitles, consider using a separate title track on the timeline. This allows you to overlay multiple text elements on different parts of your video.
2. Layering Titles
Use the same drag-and-drop process to add additional titles or subtitles to your video. Experiment with layering to create engaging visual effects.
3. Animations and Effects
Filmora offers various text animations and effects. Explore the “Animation” tab to add entrance, exit, and emphasis effects to your text elements. This brings dynamism and flair to your titles.
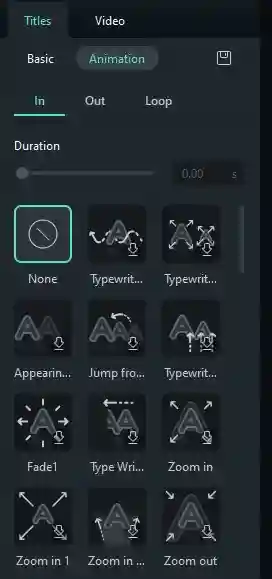
Click “None” do remove or deselect animation.
4. Customized Motion
For advanced users, Filmora’s keyframing feature allows you to create custom motion for your text elements. This lets you control the position, scale, and opacity over time.
Ensuring Clarity and Engagement
1. Contrast and Visibility
Ensure that your text stands out against the background by adjusting contrast and visibility. Experiment with shadows or outlines for improved readability.
2. Consistent Styling
Maintain a consistent text style throughout your video for a polished look. This includes using the same font, color scheme, and animation style for related text elements.
3. Preview Your Work
Regularly preview your video to check the placement, timing, and overall impact of your text elements. Make adjustments as needed to enhance the overall viewing experience.
4. Exporting Your Video
Once you are satisfied with your text and titles, click on the “Export” button to render your final video. Choose the desired settings and formats for your intended platform or audience.
Conclusion
Filmora’s text tools empower you to communicate effectively through professional-looking titles, subtitles, and captions.
Experiment with different styles, animations, and arrangements to discover the perfect balance for your unique video projects.