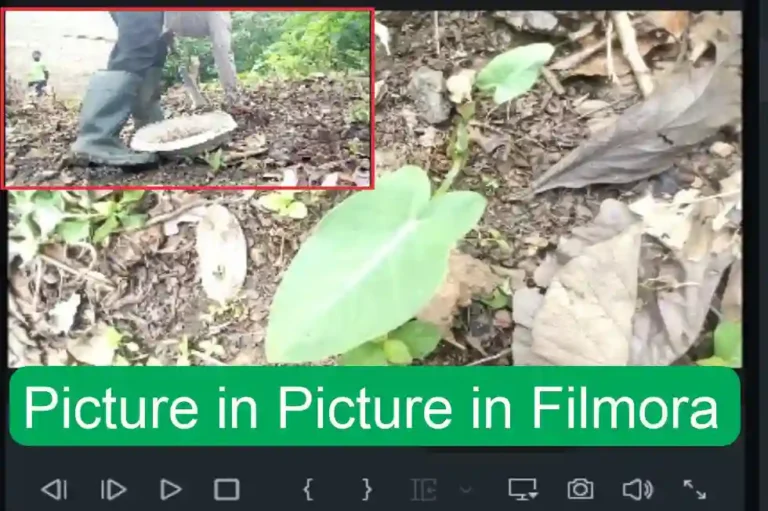
Filmora Green Screen Effects for (Advanced Learners)
A green screen, also known as a chroma key, is a background used in video and filmmaking for the purpose of replacing the background with a different image or video during post-production.
Desired to walk on water like Jesus in our time but have little faith like Peter? Talk to your pastor! Today, in this guide, I will make you walk on water and fly in the skies, shoot your video in Canada, and play with lions in South Africa. All these are possible with Filmora’s green screen effects.
Filmora Green Screen Effects
The green color is commonly used for green screens because it is distinct from most human skin tones, making it easier to isolate and remove during the editing process.
Through chroma keying, the green color in the footage is replaced with a different background, creating the illusion that the subject is situated in a different environment.
This technique is widely used in the film, television, and video production industries for creating special effects, virtual sets, and seamless compositing.
Initially, I thought creating a green screen effect was only meant for Holywood editors until I tried one myself. It was super cool.
This guide will walk you through each step to achieve results comparable to those attained by advanced film editors in multi-million dollar movies.
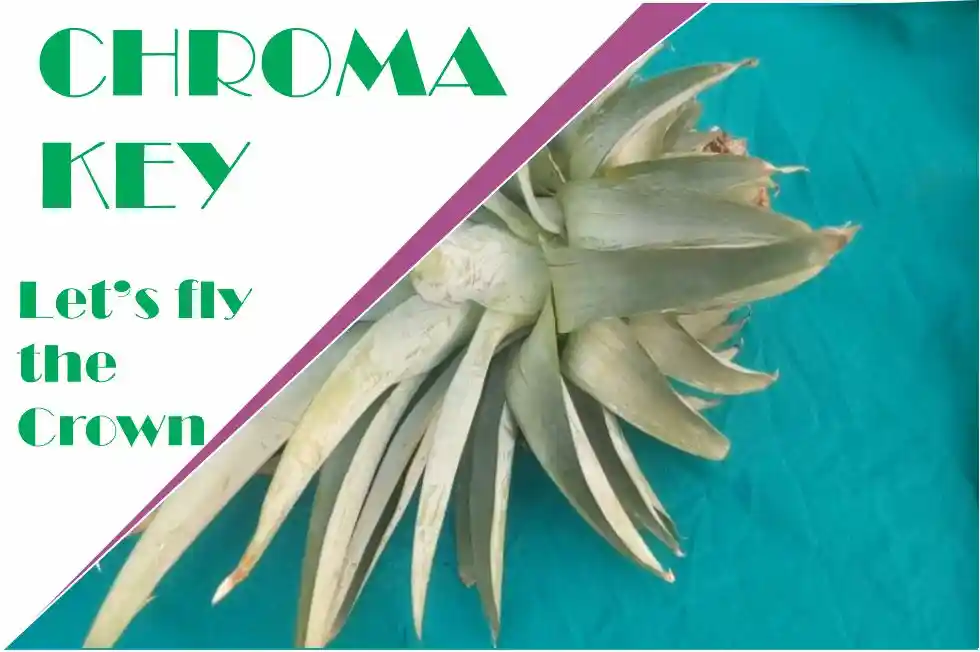
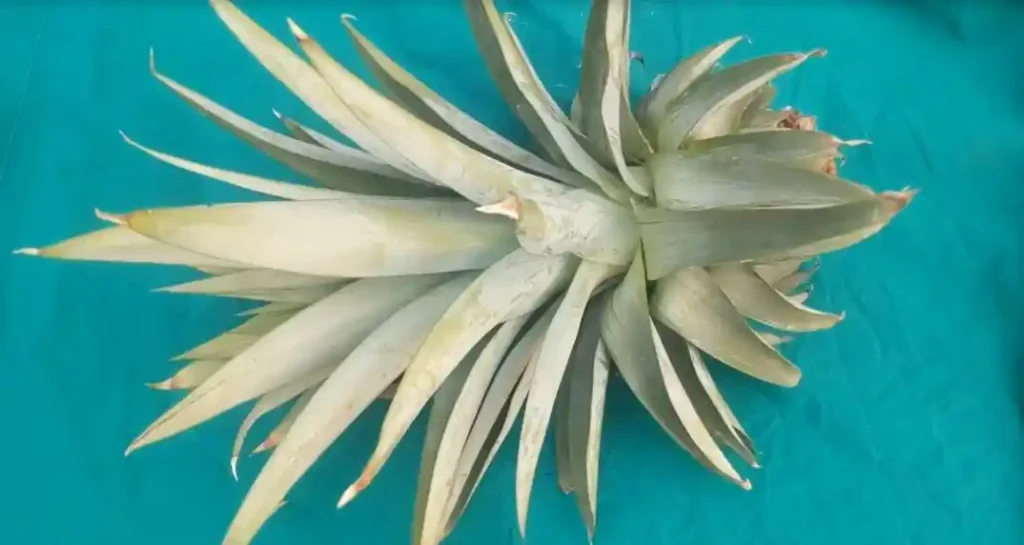
Let’s make our pineapple crown fly in the moving sky.
Head Up
Program: Filmora 9 – 13
Estimated Completion Time: 15 Minutes
Who can learn this: Beginner & Advanced Editor
Required Tools: Filmora 13, Windows 10, Smartphone for coverage, background footage from Pexels. Any version with the Chroma Key will give you the same result.
1. Film in Front of a Green Screen
To utilize Chroma Key, film your subject in front of a solid green background. Ensure that the green screen is evenly lit to avoid shadows or inconsistencies.
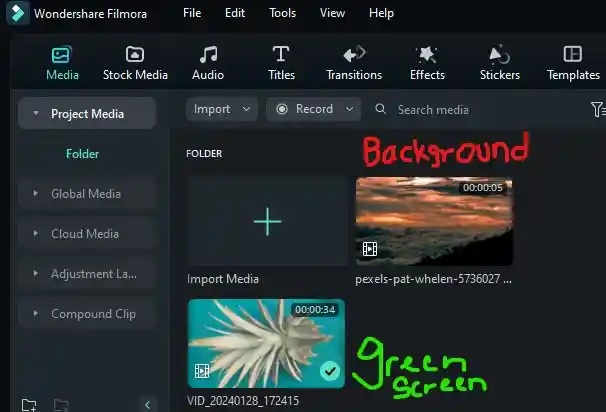
2. Import Your Footage
Open Filmora and import your green screen footage along with the background footage or image you want to use.
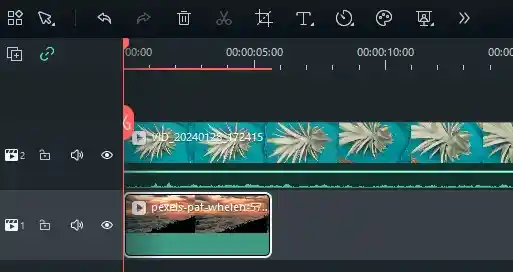
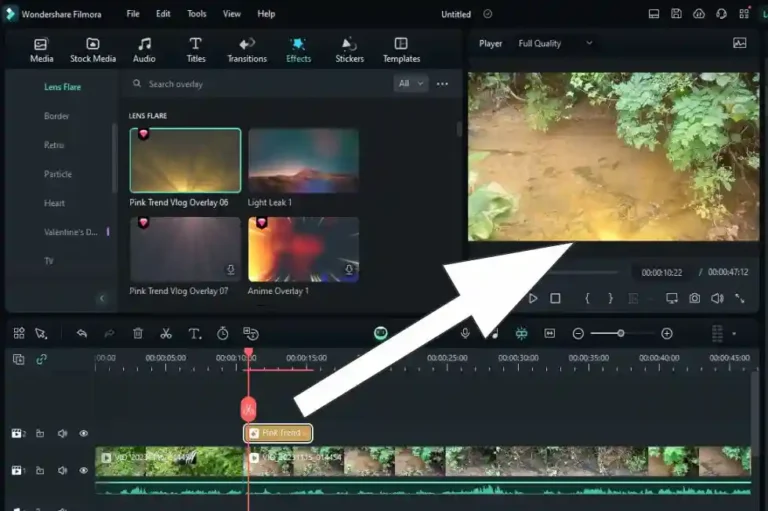
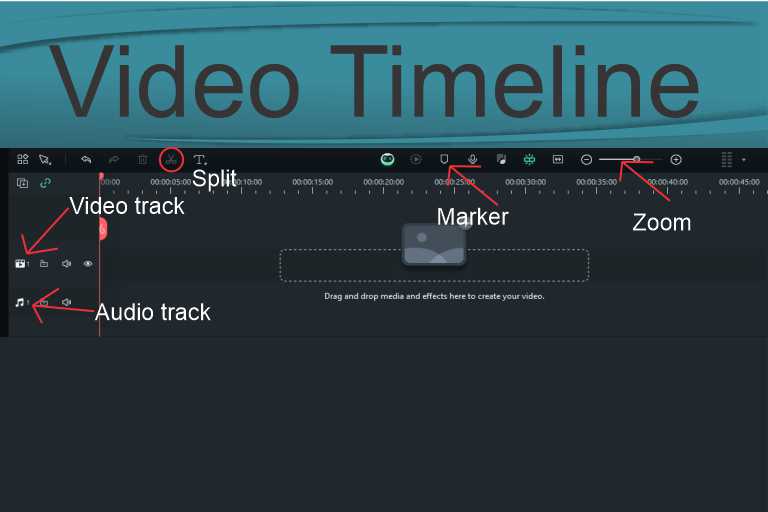
3. Drag and Drop Your Clips in the Timeline
Drag the background footage or image onto the video track on the timeline as the base layer and place your green screen footage on the timeline above.
See picture below:
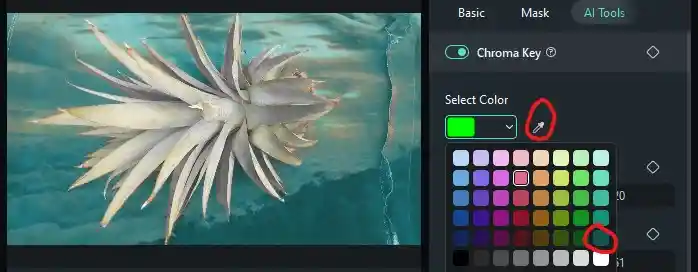
4. Select the Green Screen Clip
Click on the green screen clip to select it. Navigate to the “AI Tools” tab in the editing panel.
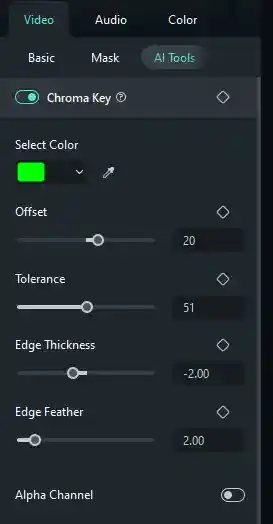
5. Enable Chroma Key
Toggle the “Chroma Key” option to enable the Chroma Key feature. This tells Filmora to remove the green background.
Always remember, you can only eliminate one undesired color. Therefore, it’s advisable not to shoot your video in the presence of multiple colors if you wish to exclude them from the final product.
6. Select a Color from the Color Pallete
If Filmora is not able to make your footage completely transparent, drop the color palette and select the color that matches your footage color to make it transparent.
You can also use the pick-color tool to select colors.
7. Adjust the Offset
Adjust the “Offset” to fine-tune the footage and make it clean. A negative value increases the thickness of the green background while a positive value removes the background. Adjust till you get the right result.
8. Adjust the Tolerance and Intensity
Fine-tune the Chroma Key effect by adjusting the tolerance and intensity sliders. This helps eliminate any residual green spill and ensures a clean removal of the background.
9. Refine Edges
Use the “Edge Thickness” option to refine the edges of your subject further. Adjust the sliders to soften the edges and enhance the blending with the new background.
10. Adjust Edge Feather to Blend Video
Achieve an authentic look by seamlessly blending your video with the background using the “Edge Feather” feature.
Choosing Backgrounds
1. Explore the Filmora Library
Filmora offers a library of backgrounds and overlays. Click on the “Stock Media” tab and explore the “Elements” or “Backgrounds” categories for suitable options.
2. Import Custom Backgrounds
If you have your background footage or images, import them into Filmora and place them on the timeline.
3. Adjust Position and Duration
Ensure your background footage or image aligns correctly with your green screen subject. Adjust the position, scale, and duration as needed.
Fine-Tuning for Realism
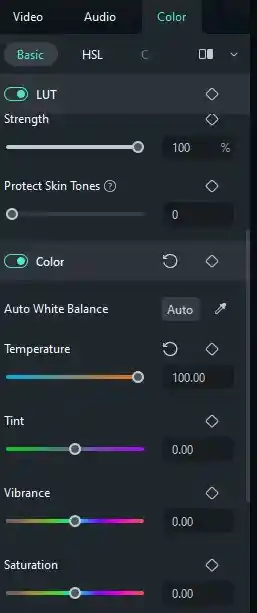
Utilize the color correction and grading tools in Filmora to adjust and enhance the visual elements of your video. These tools empower you to refine and perfect the color balance, contrast, saturation, and overall tone, allowing for a more polished and professional appearance.
By employing these features, you can tailor the visual aesthetics of your video, ensuring that each frame meets your artistic vision and resonates effectively with your audience.
New to color correction and grading in Filmora? Here’s an article that will provide you with everything you need to know about color correction and grading, including how to apply them in Filmora.
1. Match Lighting and Shadows
To enhance realism, ensure that the lighting and shadows in your green screen subject match those in the new background.
2. Add Filters and Adjust Color
Use Filmora’s color correction tools and filters to match your subject’s color tones and ambiance with the new background.
Preview and Export
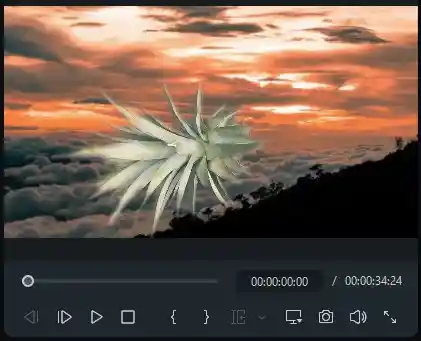
1. Real-Time Preview
Filmora provides a real-time preview of your project. Use this feature to check the seamless integration of your green screen subject into the chosen background.
2. Export Your Video
Once satisfied with the green screen effect, click on the “Export” button. Choose your desired export settings and let Filmora render your final video with the professional Chroma Key effect.
Conclusion:
Mastering the Chroma Key feature in Filmora opens up a world of creative possibilities.
Whether you’re transporting subjects to exotic locations or creating futuristic scenes, the green screen effect adds a layer of professionalism and visual appeal to your videos.
Experiment with various backgrounds, fine-tune settings, and share your experience with Chroma Key in Filmora by leaving your comments below.


Hello my loved one I want to say that this post is amazing great written and include almost all significant infos I would like to look extra posts like this
Hello Mike, I love you too.
I do not even know how I ended up here but I thought this post was great I dont know who you are but definitely youre going to a famous blogger if you arent already Cheers
Thank you.